Friday, March 31, 2006

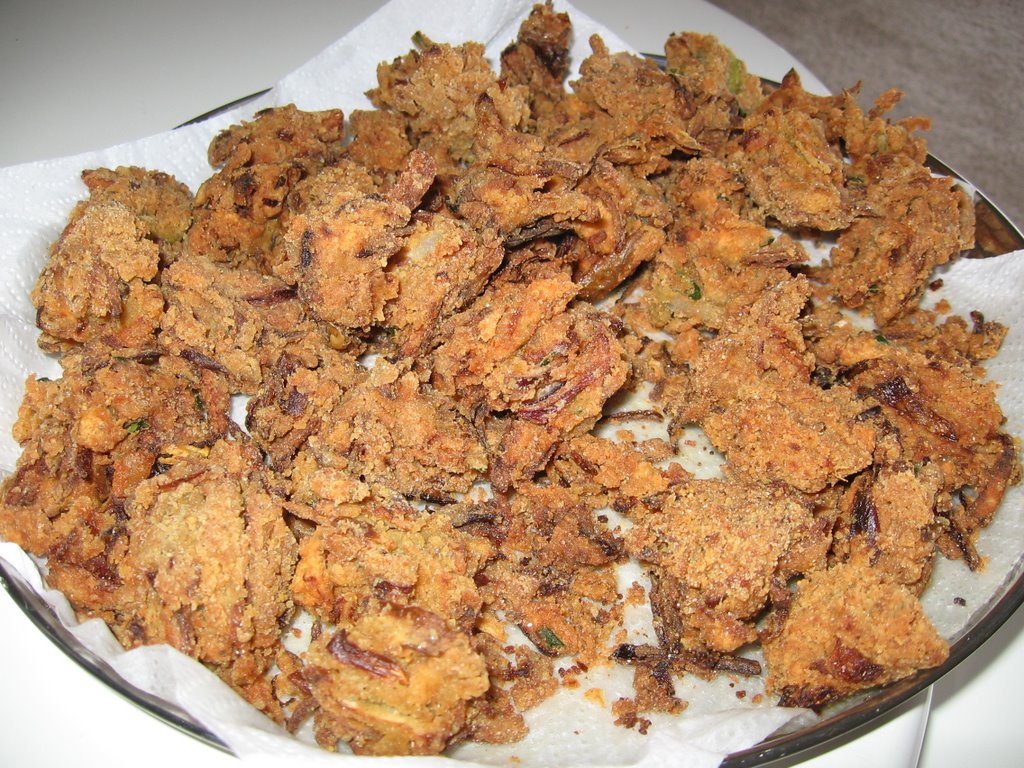
Onion Masala Pakoda


Here is an another receipe for a deadly appetizer.
There is no grinding or over work involved.All you need to do is cut up some Onions.
You cannot keep you hands of this pakoda while you are cooking it.
The smell of this wonderful snack will fill your house and also your neighbourhood.
I got this receipe from HemantsCookery corner. I love his receipes and have tried quite a few.But this one is a classic. You should definitely try it and you will not be disappointed.

Whenever I make the pakados I would always save some and make pakoda kulambhu the next day.Its nothing but the pakodas soaked in pulikulambhu, another delicacy learned from my mom.I will try to post the receipe for this one too later

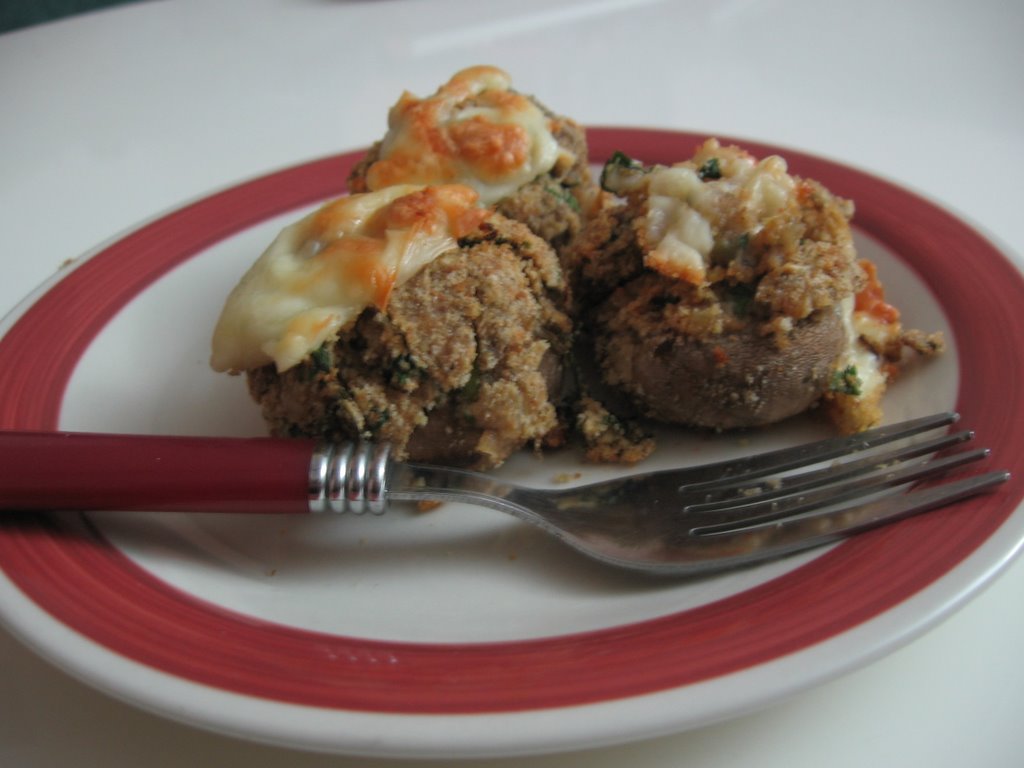
Since the rules for the VCC event from 'My Dhaba' has been changed to "upto three receipes per participant" I have decided why not send this receipe to that as a second entry.My first entry for this event is stuffed mushroom.

Ingredients:

1 cup Besan flour (kadalai mavu)
1 cup rice flour
1 tsp chilli powder.
1/4 tsp cooking soda
1/2 tsp salt
2 tsp chopped garlic
2 tsp chopped ginger
2 tsp chopped green chillies
2 tsp chopped curry leaves
1 tsp ghee (optional)
2 medium sized onion sliced into thin strips

Method
First take all the dry Ingredients into a bowl and mix well with your hands.
now add the garlic, ginger, greenchillies, curry leaves, ghee (op), onions and mix well
heat the oil in a kadhai.Now divide the flour mixture into four portions.
Take one portion into a plate.Sprinkle some water and then mix it slightly with your hand.It should not become soggy.The consistency should be as in the picture.
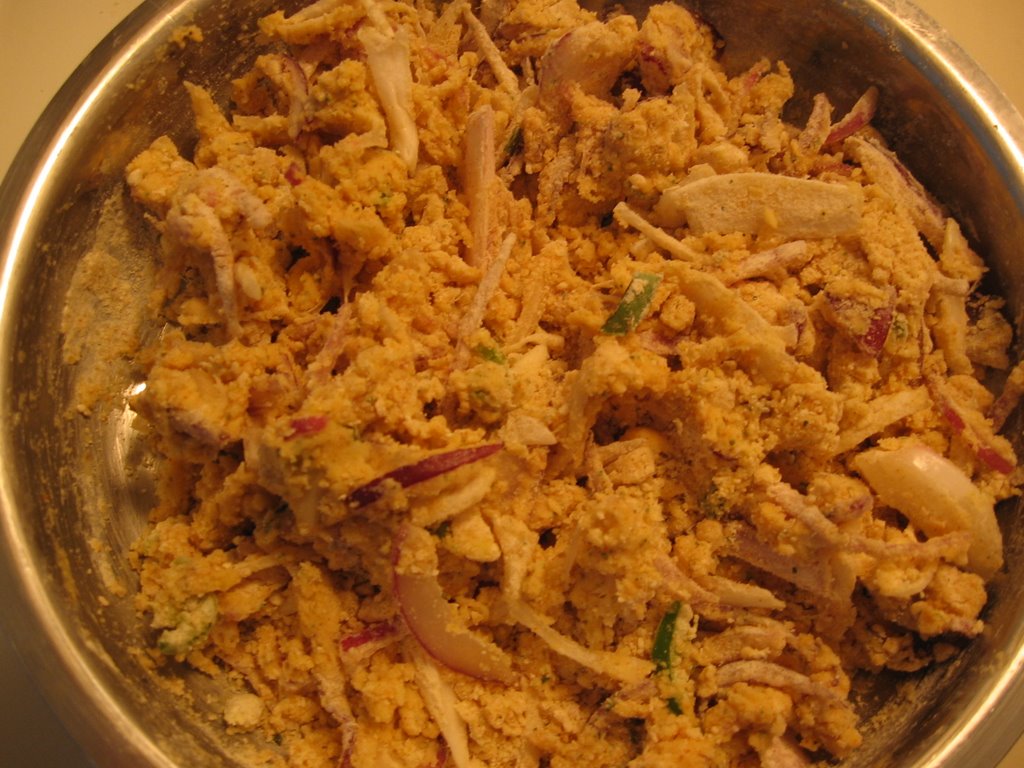
Take some flour in ur fingers and press it slightly and drop it in the oil.You can add 4 - 5 pakodas at a time.It should not have any particular shape.Fry until golden brown, take it out and drain in the paper towel.
Continue the same with the other batches of the flour.


Note:
If you add/sprinkle water to the whole batch, the flour will soak up the water and the pakodas will not be crispy.So always do it in small batches.


Wednesday, March 29, 2006

Its Spring Time


We have a beautiful lake in front of our apartment.I get a nice view of it from my balcony.Everyday I spent some time watching the activities on the lake.For the past few months the lake was pretty quite and it was covered with snow.But the spring has officially started, last two weeks the lake has become alive with lot of activities.All the migrated canadian goose has returned back.

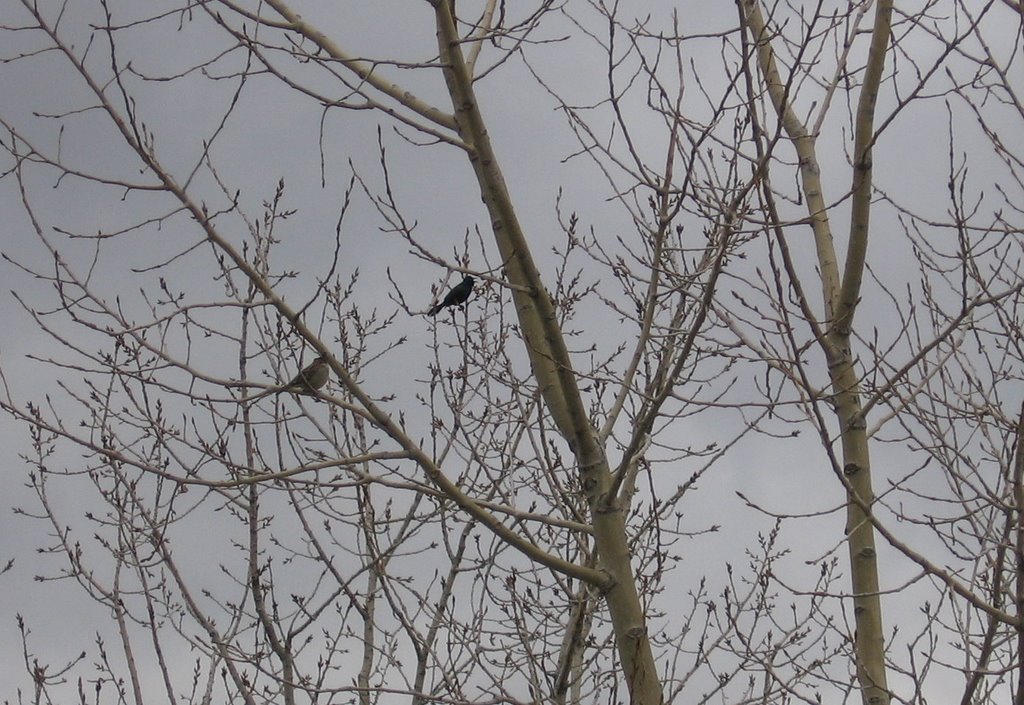
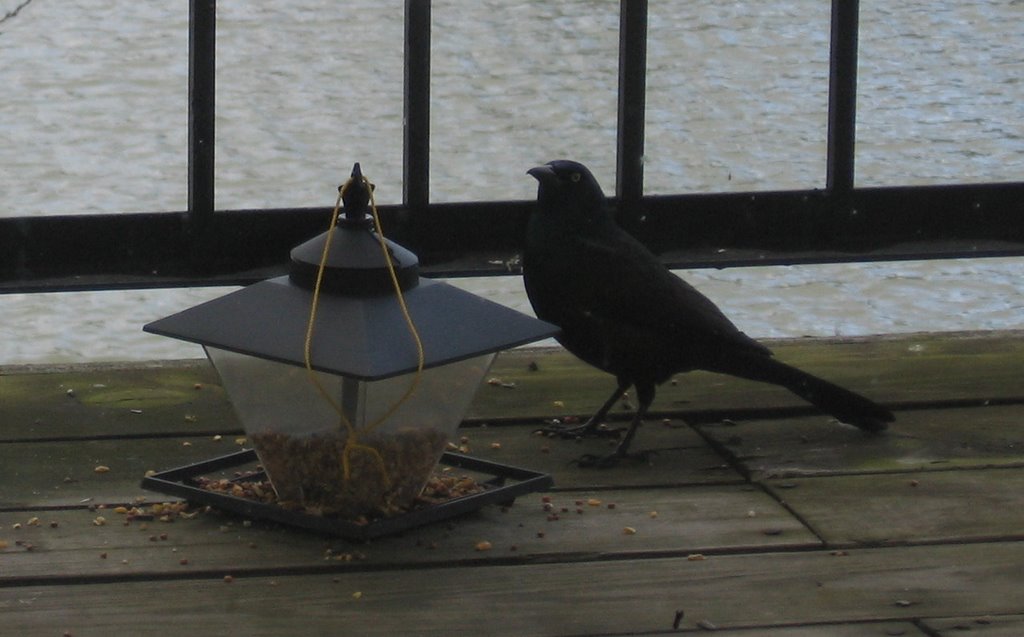
Each day Iam discovering some new birds.I have put a bird feeder in my balcony, so that I can attract some of the birds and take some pictures.


Still the weather does not permit me to go out and spend my time in the free air.But I do it occasionally for 5 mins(thats it) everyday.


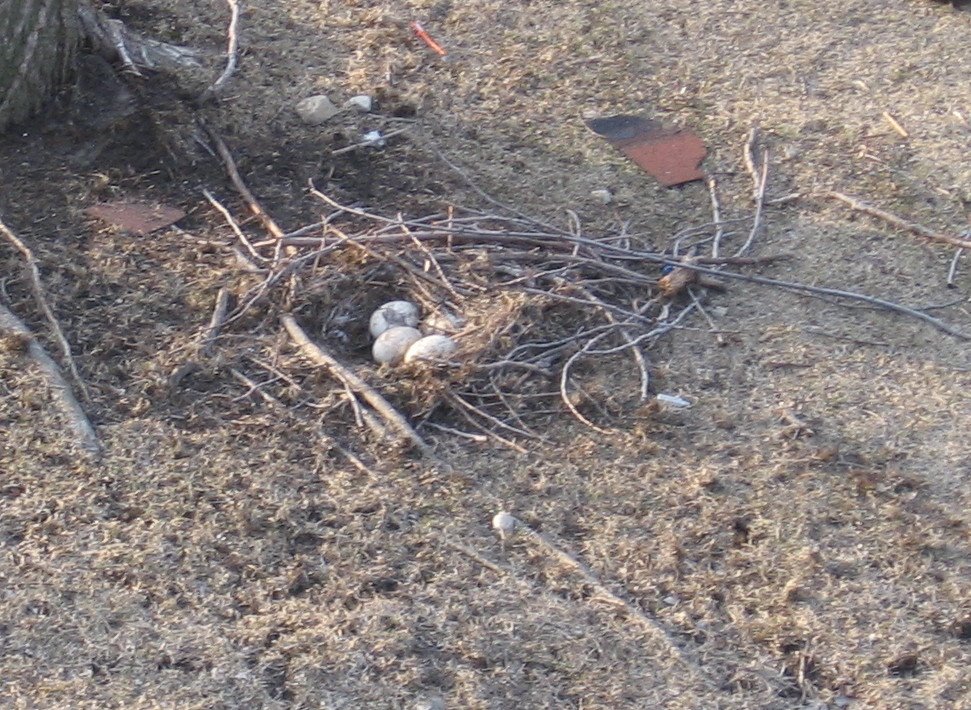
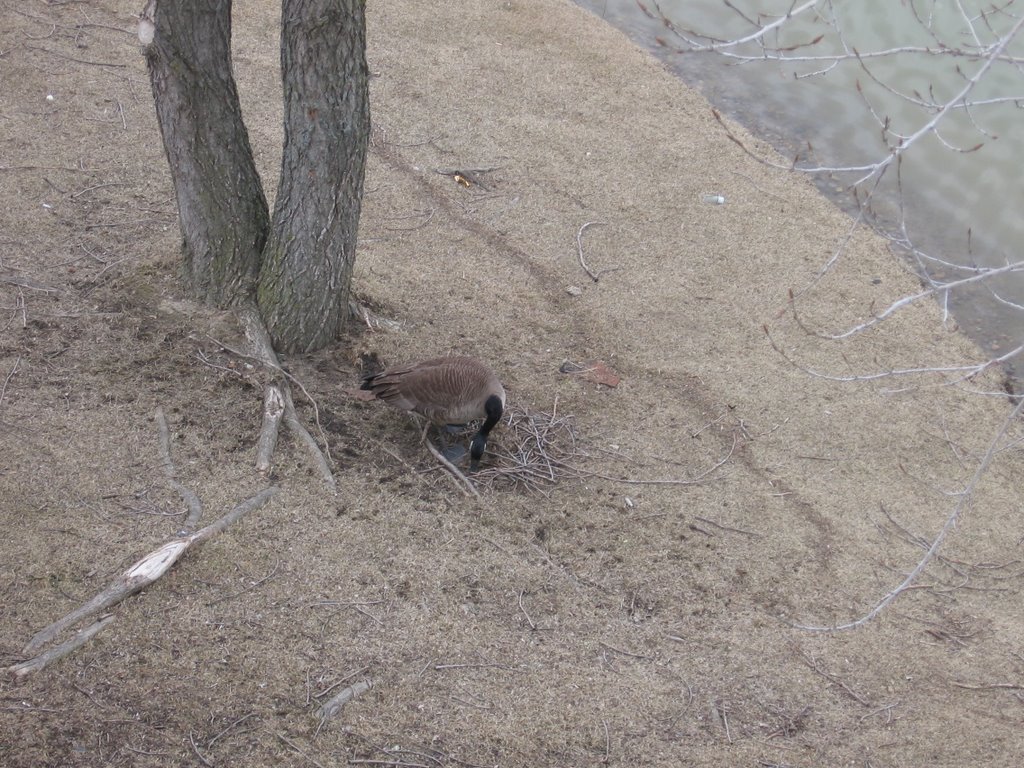
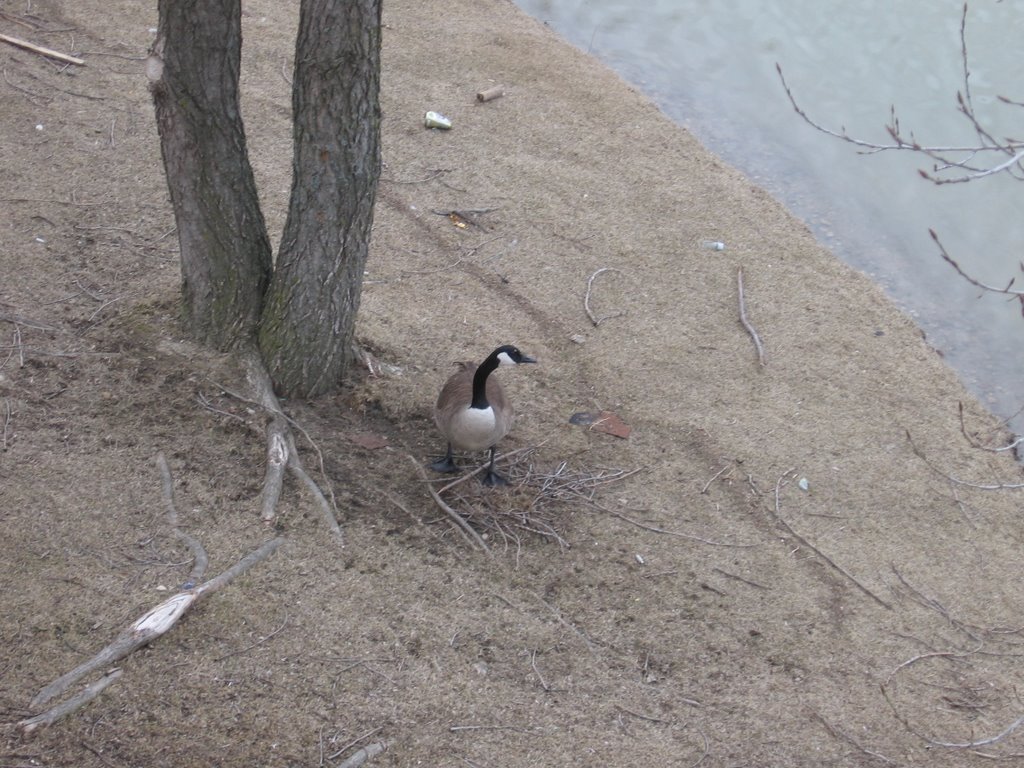
Last week I noticed a goose sitting under a tree for a long time.Me and my husband thought that it might be sick, as we always see them swimming and flying around.After my Husband left to office, I sat by my balcony with a book, and cup of tea.Suddenly I saw the bird get up and I was very thrilled to see some eggs under neath.I ran for my camera to capture it.


It was very thrilling and exciting to see the mommy bird cover up the nest carefully, and I could not even see spot of the nest afterwards.
After that day, both mommy and daddy bird spend some time periodically near the nest.While the female bird incubates the nest, the male bird safeguards the area by walking around the place, swimming around tha area.


Its absolutely fascinating to watch how protective these young parents are. I wanted to share this with all of you , so Iam posting the pictures also.I researched in the net and found that it will take 23 days for the eggs to hatch.Iam counting my days to see the new baby birds.I will periodically post the pictures about how the birds are doing.


The anxious Mommy Goose

Do send in your comments and thoughts about this post.
Do u find any such activities in your neighbourhood??

Monday, March 27, 2006

Tandoori Chicken


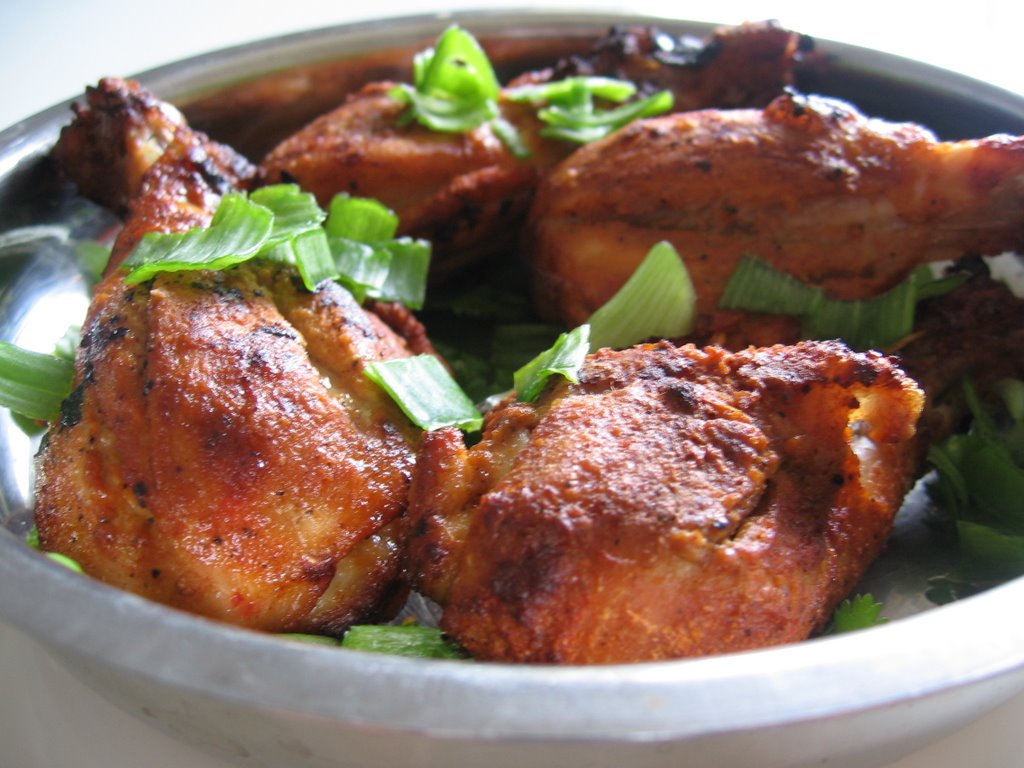
Tandoori Chicken

This Weekend was very normal and not a very busy one for us.We spend most of the time at home, watching movies , and having nice food. Since I had lot of time this weekend , I decided to cook by long time favorite food - Tandoori chicken.
This is one dish I love to eat whenever I visit the Indian restaurants over here.
I retained the name Tandoori, though I used the regular oven to roast the chicken, may be I should have called this receipe 'Roast chicken'...nahhhh somehow I like the name 'Tandoori chicken'.Anyway its very easy to make and its a great party food, without consuming much of your time.

Ingredients:

4 chicken drumsticks
1 tsp chilli powder
1/4 tsp coriander powder
1/2 tsp of garam masala
1 tsp of ginger garlic paste
3 tsp of curd/yogurt
2 tsp lemon/lime juice
1 tsp of pepper powder
1 tsp of jeera powder
1 pinch of red food clour (optional)
green onions for garnishing
salt to taste

Method:
Remove the skin from the drumsticks and wash throughly and drain
add all the ingredients and mix well.you can mix all the ingredients first, check for salt and spice level and then add the chicken and stir well to coat.
marinate the chicken overnight.The minimum time to marinate is 1 hour.
When u r ready to bake, preheat the oven to 350C
Cover the baking tray with aluminum foil, spray with pam cooking oil.
place the chicken within 1 inch apart and then place the tray in the preheated oven.
Bake for 15 mins. Now take out the tray and flip the chicken pieces using a tong and then bake again for 15 mins.
Now take the tray out flip the chicken again and set the oven settings to Broil.
Allow it to broil for 5 mins, or until you get a nice golden red colour.
But be careful, if you keep in broil for a long time the chicken will get burnt.
Garnish with cilantro and spring onions.

Friday, March 24, 2006

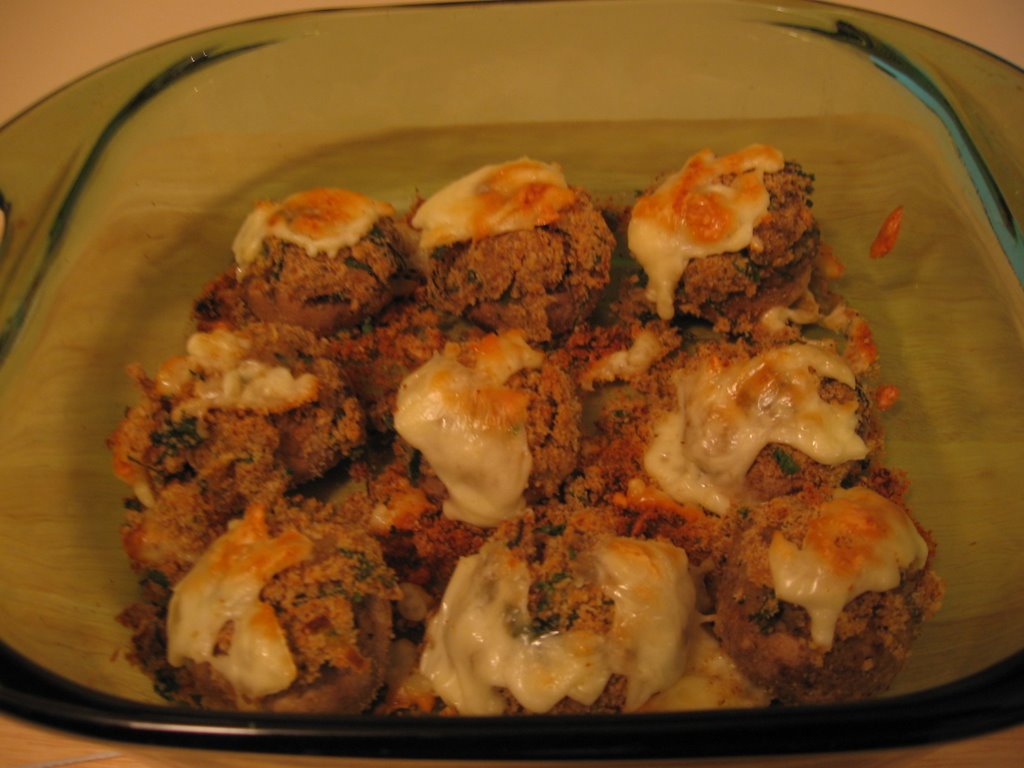
Stuffed Mushrooms - VCC:VCC - Q1 2006


Iam Posting this Receipe for "Virtual Cooking Competition" conducted by VKN of My Dhaba

This is a very interesting receipe and it does not require as much effort as it looks.
It was almost 5 years backwhen I first ate this appetizer dish in Olive gardens.It was so creamy and bubbling with cheese I absolutely fell in love with the mushrooms.As soon as I came home I started looking for the receipe in the internet.But I got so many versions of this receipe I got very confused and decided to stick to the simplest version from a library book..From that day onwards this is my special appetizer for any party or a potluck and it has always been well receivedand appreciated.

Ingredients:
1 Packet large white Button Mushrooms(about 12)
8 cloves of garlic finely chopped
1 medium sized onions fineled minced
2tbl sp Butter
1 cup of shredded mozarella cheese
1 cup of shredded parmesan cheese.
2 cups bread crumbs.

Method:
Preheat the Oven to 350C
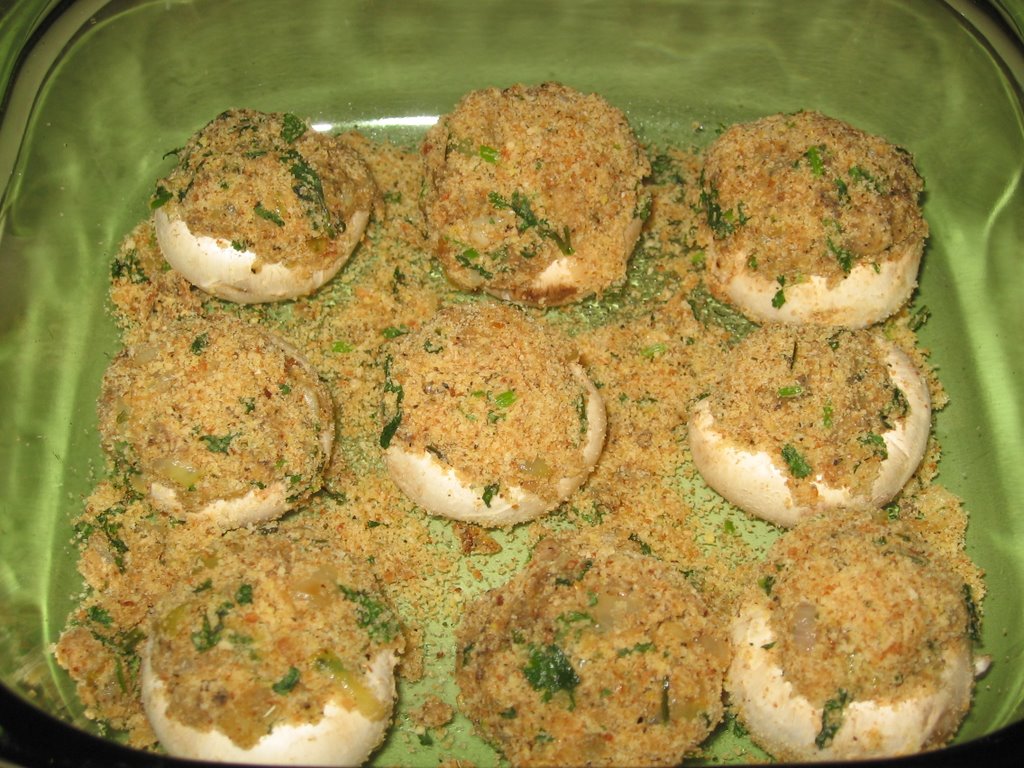
Wipe the Mushrooms with a damp towel and scoop out the center of the mushrooms, and make it like a hollow cup(like in the picture)
Chop the scooped out mushroom stems.
Add the butter in a heated pan, add the garlic and the onion saute well.
add the chopped musroom stems and saute well.Add some salt and pepper
Now add the bread crumbs and mix well for 2 mins and allow it to cool.


Stuff the hollow mushrooms with this mixture and arrange it on baking tray.
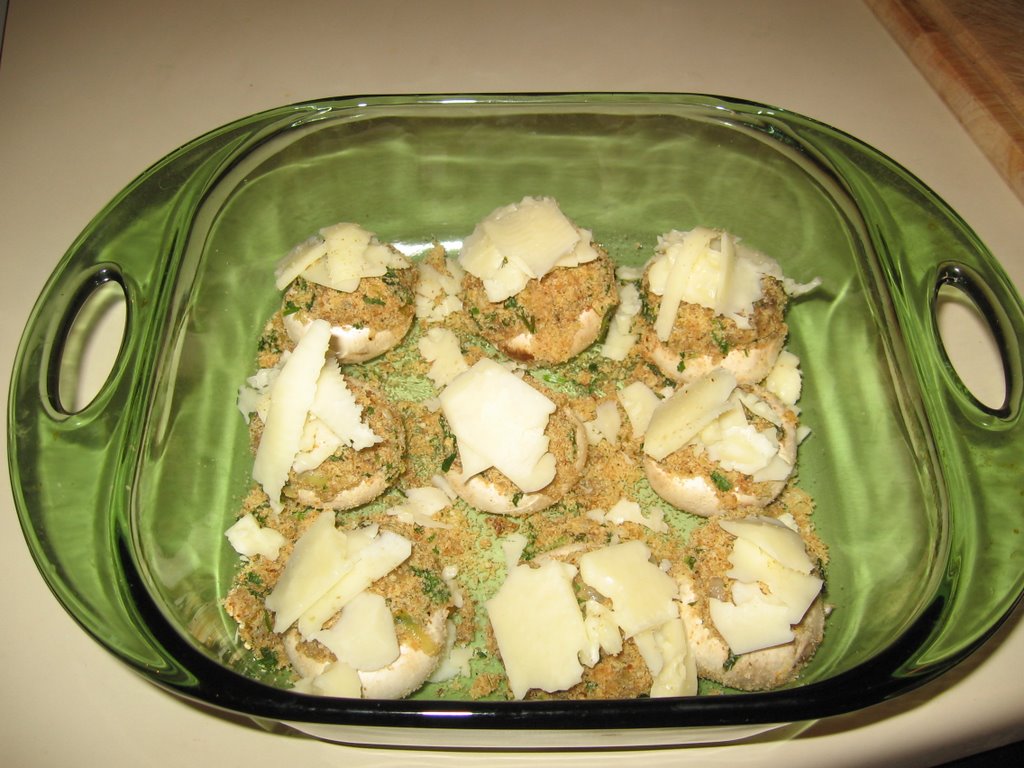
Sprinle the cheeses over the stuffed mushrooms.


Place it in the oven and bake it for 20 mins, or until the cheese is bubbling and turns golden.
Serve it hot.


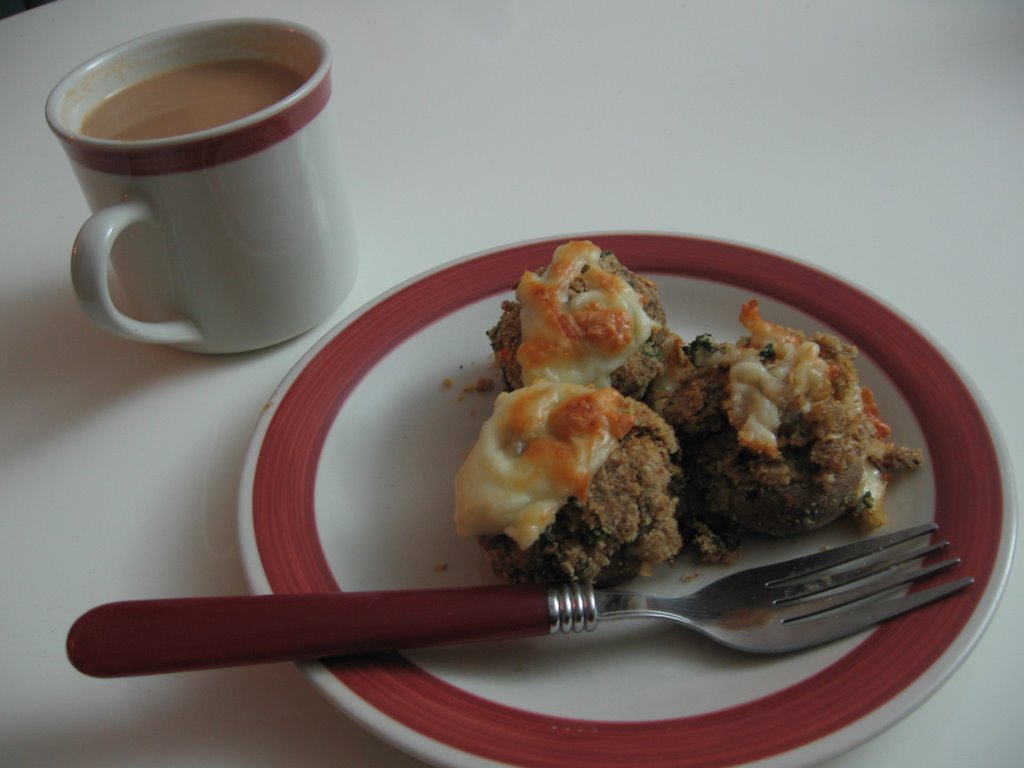
Note: I have gone easy on the cheese as you see in the pictures, but beleive me ,more the cheese the more the taste . So go ahead add sprinkle more cheese, and have fun for a day.

Enjoy with hot cup of tea!!!


Updated with some recent pictures.

Tuesday, March 21, 2006

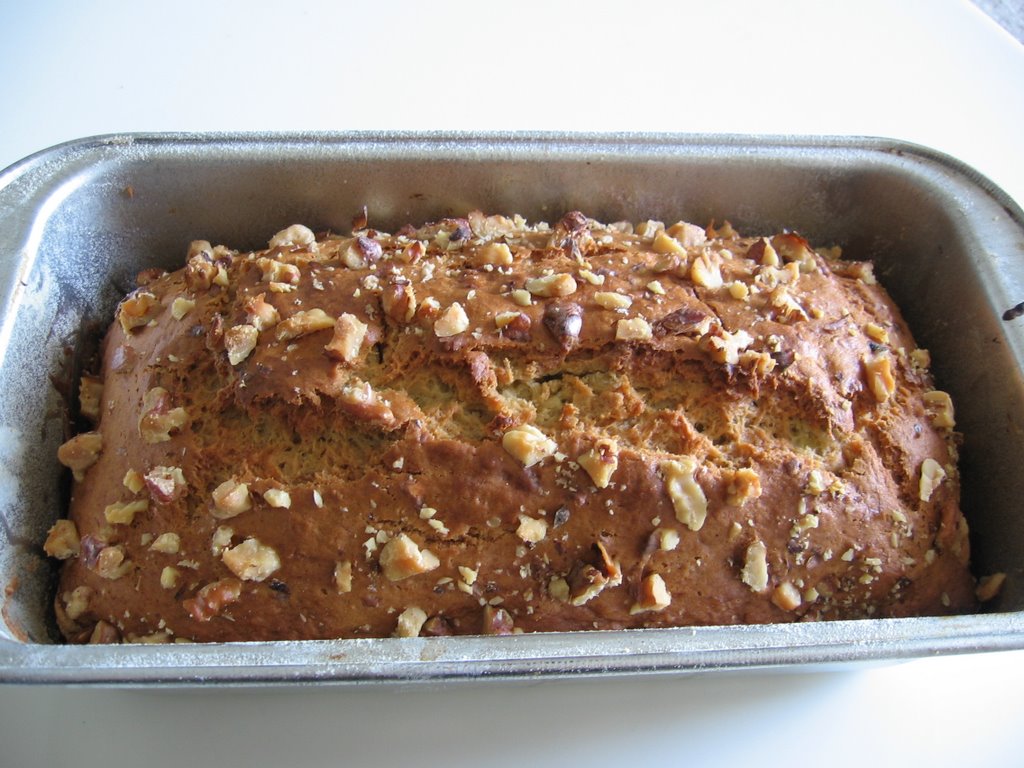
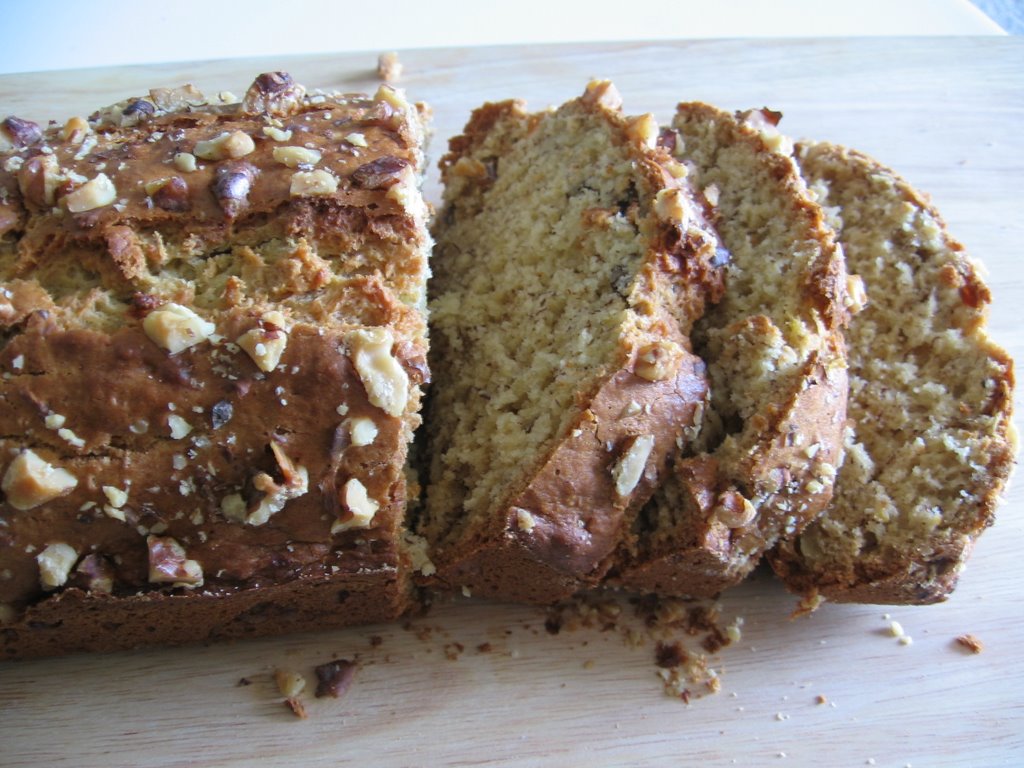
Banana Nut bread


Banana Nut Bread

Its Baking Time this weekend.Its been a long time since I baked something.
When I first came here to US, I was very excited to see the ovens in the apartment, which motivated me to try baking.To start with I used all the store bought cake mixes, which came out wonderfully.How many ever time you bake, the excitement to see your final product is always the same...Dont you all agree....
One of my collegue Invited me to her sons birthday party.She had baked a nice and delicious cake, when I asked about the receipe, she told me that it was a Banana bread receipe without a egg.Since they were Jains, they didnt want to buy cake from the stores.But their cake was very soft and it was a hit. So I got the original Banana bread receipe from her and started experimenting with it by adding an egg, it turned out good.

Nowadays I make it atleast once in a month for ourselves or as a nice gesture for friends when they invite us over for dinner.
Last week we had India - Pakistan one day match, and one of our friends invited us over to watch the overnight match.It sounded fun, so I decided to bake the Banana bread for some midnight snacking.

Ingredients.

2 cups all purpose flour
1 egg
1/2 stick butter
1 cup sugar. ( I used only 3/4 cup as I wanted to cut down on sugar)
2 Rippened bananas
3 tblsp milk
1 tsp baking powder
1/2 tsp baking soda
1/4 tsp salt
1 cup chopped walnuts
1/4 tsp vanilla essence or powder

Method:

Preheat the Oven to 350F/180C
Mix in the butter and sugar.Beat till smooth and frothy.
Sieve the flour and baking powder, soda, and salt mixture three times.
Mash the bananas well with the back of the fork
Beat the egg seperatly and add it to the butter mixture little by little, while mixing simultaneously.Add the flour mixture and mix well.The mixture will be very thick at this stage, add the milk now and mix well.Fold in the bananas at this stage and mix well.
Now add half of the chopped walnuts.
Greese the baking tray with butter, dust it with some flour.
Pour in the mixture and place it in the preheated oven.
Sprinkle the remaining walnuts over the spread.
Bake for 45 -50 mins.The time can vary depending on the oven.So check periodically after 40 mins .a knife or toothpick inserted in the middle should come clean.

You can Enjoy this bread as breakfast or a snack along with tea.
Happy Baking.

Related Posts with Thumbnails