Thursday, December 30, 2010

Cookies Galore

Baked lot of cookies this holiday season for sharing with Friends and Neighbors.  Here's a quick peek on to them


From the left: Oatmeal Raisin Coconut Cookies (my personal favorite) , Mexican wedding cookies, Almond Macaroons, Shortbread cookies with chocolate dipping.

Yet to blog about the last two, probably after the holidays. Till then have a blasting weekend.

Wishing you all a very Happy New Year.

Sunday, December 26, 2010

Chocolate Brownies with Fudge Frosting - A Christmas Treat

Hope you all had a wonderful Christmas weekend. The weather was pretty bad over here on Saturday and it was a white Christmas after 20 yrs or so. But after two days of snow and uncleaned roads, its a complete mess out there.
We had a relaxed weekend at home with the "very happy"  little one running around with the surprise  gift from Santa :) . Well,  he got what he wished for, and also some Brownies as a bonus treat for Christmas.


I baked these wonderful cake like brownies from the book I already mentioned here
The recipe was totally different from what I have been baking so long, as it called for a layer of fudge frosting over the brownies. The result was a soft cake like Brownies with a very thin layer of smooth frosting. Loved every bite of it. 
Ingredients:
1 cup All purpose flour
1/4 cup Cocoa powder
1/2 cup soft brown sugar
2 eggs
1/2 cup butter
1/4 tsp salt
1 tablespoon milk
For the Frosting:
2 Tblsp Butter
2 Tblsp cocoa
3 Tblsp evaporated milk ( I used whole milk)
1 cup Confectionery/Icing sugar


Method:
Preheat the oven to 180C
Prepare a 11 / 7 inch rectangular pan. Grease and line the pan with parchment paper.
Sift the flour, cocoa and salt in a bowl.
Beat butter and sugar till light and fluffy in a seperate bowl.
 Add the eggs little by little and beat well.
Scrap the sides of the bowl and beat again for a min.
Now fold in the dry ingredients and the milk alternately. 
Mix gently until no visible streaks of flour appear.
Transfer it to the prepared pan and bake for 35 minutes.


Remove and let cool in the pan.


For the Frosting:
Melt the butter in a saucepam under low heat.Add the cocoa powder and mix well, cook for a min.
Remove from heat and add the milk and sugar. Blend well with a whisk for a min.
Pour over the cooled brownies, spread evenly and allow it to set. Cut into squares.


Note: Cut only after the frosting is completly set , atleast 2 hrs, otherwise it will leak while making squares. I was a little impatient as you can see in the picture.


Try this recipe when you bake brownies the next time, you will  not be disappointed.
Sending these to Meeta's Monthly mingle event hosted this month by Ria where the theme is "Chocolate Extravaganza"

On an ending note, I am very happy to announce that I have won the giveaway hosted at Mriganayani for her blog 2nd anniversary.  So I got my share of surprise for the Christmas weekend :) Thanks Anu for the wonderful book giveaway.


Update : The picture after the frosting's set completely (overnight)


Happy Holidays Everyone...

Wednesday, December 22, 2010

Apple Almond Cake

Here's yet another cake for this season. I baked this over the weekend, the recipe  from Dragon's kitchen. I had bookmarked this recipe as soon as she posted in her blog, but it took about a year for me to make it. When the cake was baking, the house was filled with wonderful aroma of cinnamon ,apples and almonds  typical flavors of December. The cake was moist and delicious, a perfect dessert cake with a scoop of vanilla Ice cream.


Recipe source : Dragon's Kitchen
I almost followed the recipe with a slight change from my side. I increased the cinnamon to 11/2 tsp and used brown sugar for the topping. I also used vanilla essence instead of almond extract.


Ingredients:
11/2 cup All purpose flour
3/4 cup Granulated sugar
11/2 tsp Baking powder
1/2 tsp Baking soda
1 tsp vanilla essence
1/4 tsp salt
2 eggs
2/3 cup yogurt
1/4 cup butter melted


3 apples peeled and sliced thin
1/4 cup slivered /sliced almonds
3 tablespoon Sugar/Brown sugar
11/2 tsp cinnamon


Method:
Preheat the oven to 180C/350F
Prepare a 9'' springform pan
Stir together flour, sugar, baking powder , soda and salt in a bowl.
Break in the eggs one by one in a separate large  bowl, stir in the yogurt  and melted butter and vanilla essence. Beat well for a min.
Add the flour mixture to the wet ingredients and stir well till incorporated.
Pour the batter to the prepared pan. Arrange the apple slices over the batter.


In a small bowl mix the almonds, cinnamon and the brown sugar.Sprinkle on top of the apple.
Bake in the oven for 50 - 60 minutes. Mine was done in 50 minutes. So start checking from 50 mins


Serve warm with whipped cream or Ice cream


Sending this off to Champa's Bake-off event at the Versatile Kitchen 
Cakes and cookies - Xmas event at "My Culinary Creations"

Sunday, December 19, 2010

Vanilla cupcake with butter cream frosting

 I baked these cupcakes for a bake sale at my kids school last week. I have baked vanilla cupcake several times using different recipes, but this is the first time I decorated them with buttercream, did this specially for the kids.I made two batches of them (about 24) and felt happy to see that they vanished within the first 30 mins of the sale.

Recipe source: Joy of Baking

Ingredients:
1/2 cup unsalted butter at room temperature
2/3 cup of white sugar
3 large eggs
1 tsp vanilla extract
zest of 1 lemon (I used 1/ of a lemon)
11/2 cup All purpose flour
11/2 tsp Baking powder
1/4 tsp salt
1/4 cup milk

For the Buttecream
2 cus of Icing sugar
1/2 cup unsalted butter
1 tsp vanilla extract
2 tblsp milk

Method:
Preheat the oven to 180C/350F
In a large bowl cream the butter and sugar using the hand mixer until light and fluffy.
Add the eggs one by one, beating well after each addition. Scrape down the sides.
Add the vanilla extract, lemon zest and beat well for a minute.

In a seperate bowl whisk together flour, baking powder and salt.
Now add the dry ingredients to the wet mixture alternating with the milk. Beat till incorporated.
Fill in the muffin cups evenly.Bake for 18 - 20 mins or until the tip is browned and a toothpick inserted in the center comes out clean.

Makes about 12 cupcakes.


For the Buttercream , beat the butter till light and creamy.Gradually add the sugar and beat till fluffy (about 2 mins).  Now add the vanilla extract and milk and beat for another minute. Pipe the buttercream using the large star tip that you have on hand or spread the buttercream on the top using a butter knife.

Tip: the butter should definitely be at room temperature to make the buttercream mixture.I learned this the hard way :)


Sending this to the following events
Cakes and cookies - Xmas event at "My Culinary Creations"
Its time to jingle again - at AsanKhana
Champa's bake -off event at 'The Versatile Kitchen'
                                                                   

Tuesday, December 14, 2010

KFC style Fried Chicken

Have you ever wondered how the combination of just flour, salt, pepper and chicken can taste so good?
I have, many a times, whenever I happen to snack at KFC. Back in 2000 when I came to US for the first time, I was so much addicted to this food, that this became the evening snack on the way back home from work.  Ahh..those carefree days...:)

Last week I made these for my kid. Something interesting for him to eat as he was giving me a hard time, literally eating nothing for the past two weeks because of cough and cold. He seemed to like it and had a few pieces, which made me happy..:)


Ingredients:
Boneless chicken pieces , cut into thin strips
salt and pepper as required
1 egg
2 cups all purpose flour

Method:
Marinate the chicken with little salt and  pepper.
Break an egg in a wide bowl, add salt and pepper, and whisk well
Take the flour in a plate .

Heat oil in a saucepan for frying.
Dip the chicken in egg , and the coat with flour, again dip in the egg and coat with the flour.
Drop in the hot oil and fry till golden.
Serve with your favorite sauce.


Note:
Dipping the chicken twice in egg gives a nice crunchy layer, but its up to the individual's taste. To make it more spicy, you can also add some hot sauce to the egg.


Wednesday, December 08, 2010

Viennese Shortbreads/Biscuits with chocolate buttercream filling

Hi all , how have you been? December has started and its time to bake some cookies. Here's an interesting bake that I made this week from a book called  "Hamlyn All Colour Cookbook" which showcases traditional British recipes right from soups to desserts. Its a pretty old book published in the 70's , but the pictures are absolutely amazing. After baking Hot Cross Buns last year, I dutifully flip through the pages every night deciding on which ones to try next. Finally decided to try out this Viennese shortbread cookies.
What interested me most was the method of making these cookies. Rather than rolling and cutting or making small balls, these involved piping out the dough using a Icing bag.


The original recipe is for Orange shortbread, but omitted them as I am not so fond of the citrus flavor in any baked goodies.

Ingredients:

1 cup All purpose flour
1 cup cornflour(white)
3/4 cup butters
2/3 cup confectioner's sugar, sifted
extra confectioner's sugar to decorate.

For the Buttercream:
 4 tblsp butter
1 cup Icing sugar
2 tblsp cooking chocolate, melted

Method:
Preheat the oven for 180C/350F
Sift the flour and cornflour(cornstartch) together into a bowl.
Cream the butter, icing sugar in a large mixing bowl until very soft and light.
Gradually beat in the sifted flour and cornflour.
Put the mixture in the piping bag fitted with a large star tube (6mm) and pipe out small circles, rosettes or fingers on an ungreased baking sheet.
Bake in the centre of the preheated oven for 15 to 20 minutes.
The shortbread should crisp without becoming too brown.
Leave to cool on the baking sheet.

Note:   Its very important to cream the butter and sugar until soft otherwise, when the flour is added, the mixture would be too stiff to pipe. Add a 1 or 2 tablespoons of milk or water if too stiff to pipe.

For the Buttercream:
Cream together the butter and Icing sugar for the filling.
Melt the chocolate on a heatproof bowl over a pot of boiling water.Let it cool down.
Add the chocolate and mix well. When the biscuits are cold sandwich together in parts with the buttercream, and dust the tops with sieved icing sugar.


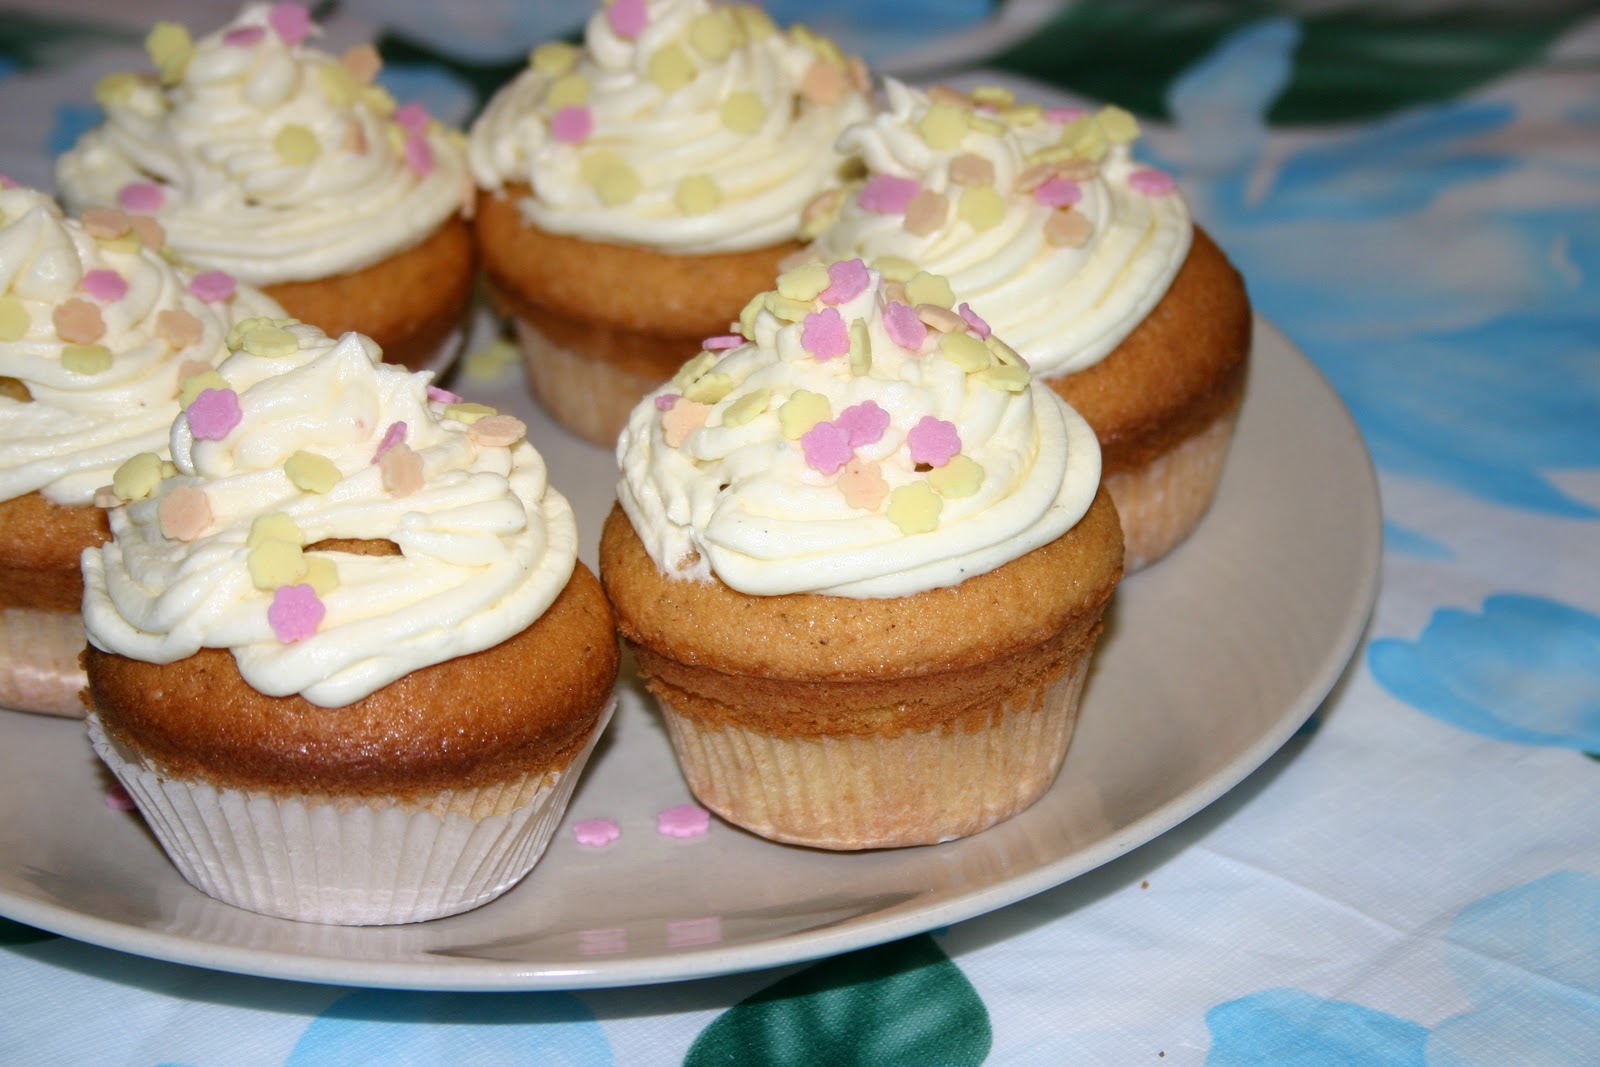
I wanted to use the star tip for these as in the picture from the book, but mine was too small to pipe out the dough and thus ended up in circles. The biscuits were soft and buttery, not too sweet, very different from the regular butter or sugar cookies. This recipe is definitely a keeper.


The cookies filled up with chocolate buttercream..


.I know I went a little overboard on the chocolate filling but hey its chocolate...

The biscuits tasted good on its own, but the chocolate filling enhanced the sweetness of the biscuits as well as the taste. 
Sorry for the poor lighting in the picture but this is what I could get out of the gloomy dark winter weather over here  :)    Sending this off to Champa's Bake-off event at Versatile kitchen.
Bye and have a nice weekend.

Wednesday, December 01, 2010

Pumpkin Bread

The first week of November was pumpkin week at school. We had to find some odd shaped pumpkins (big or small) for the school display. In that searching process we ended up with some really cute pumpkins. I made a soup and a curry ( twice ) but still had two more to go. Then I remembered the post about how to make pumpkin puree from DK's blog. I successfully made two jars and  also made this Pumpkin bread using the puree the very next day. The recipe for this bread has been in my bookmarks for ages and I finally got a chance to make it.
I was expecting a dark coloured Pumpkin bread like the ones we get in Starbucks( Iam a big time fan of that) ,but mine turned out more orangish. Its more related to the variety of the pumpkin I guess, Nevertheless the taste was wonderful and we loved every bit of it. I more or less followed the original recipe except the olive oil and added some cloves to have a strong flavour.


The original recipe is from  Simply Recipes Blog


Ingredients

1 1/2 cups (210g) flour
1/2 teaspoon of salt
1 cup (200 g) sugar
1 teaspoon baking soda
1 cup pumpkin puree
1/2 cup oil
2 eggs, beaten
1/4 cup water
1/2 teaspoon nutmeg powder
1/2 teaspoon cinnamon powder
1/2 teaspoon cloves  powder (optional)
1/2 cup  chopped walnuts


Method:

 Preheat oven to 350°F (180°C). 
Sift together the flour, salt, sugar, and baking soda.
If you do not have the spice powders, just go ahead and powder the whole cloves, cinnomon and scrape the nutmeg.Worked well for me.
 Mix the pumpkin puree, oil, eggs, 1/4 cup of water, and spices together, then combine with the dry ingredients, but do not mix too thoroughly. Stir in the nuts.
 Pour into a well-buttered 9x5x3 inch loaf pan. Bake 50-60 minutes until a thin skewer poked in the very center of the loaf comes out clean. Turn out of the pan and let cool on a rack.
Makes one large loaf


Tuesday, November 23, 2010

Thomas and friends Cake | Train Cake | Butterfly Cake | Decorated Cakes |

Its been ages since I wrote my last post. I thought of taking a short break Initially when we planned to move to Brussels for the kids school. But then there was a visit from my In-laws for 2 months, followed by my son's 3rd birthday and then the school. The kid took some time to settle down and demanded more attention from me, and there you go, another reason for me to prolong my hibernation. Summer was hectic as we were travelling a lot, visited Rome and Paris again. I never get bored of Rome, its such a lively place filled with architectural wonders. 
When everything was in place and I was almost ready to blog, my laptop gave away all of a sudden, and thats it, I thought I will never be able write a post this year. Still it's in the same condition,  can browse only for about 30 minutes at a stretch, as it runs with just battery power, awaiting a new one next week though.(hurray!!!). But during the past one month I realised how much work gets done, if you dont sit in front of your computer for hours together. Yeah, I learned something on that front and I promised myself that I will not sit and browse or blog for more than an hour at a stretch. (India calls excluded  :) ).


During my break I did lots of cooking, tried new things and the best part is I overcame the fear of Icing.
Yes, I baked a Birthday cake for my son's Birthday and a few other ones after that. Though I love to bake and try out different recipes, this is the first time I attempted to do a decorated version with Icing and all.


It was hard to find certain ingredients called for in the recipe, I had go with alternatives.I took a lot of help from Champa of   "The Versatile Kitchen' as I desperately needed some advice and tips from a person who is good at this. Her posts on cake decorating basics were very useful and informative.learned a lot of new stuff from there.She was very patient enough to answer all my questions through email. Thanks Champa :)
I also took help from another blog , Aqua's "Served with love".  She also has some simple tips and techniques in her blog which guides you where to start  for starters like me.


Here are some of the pictures of the Cakes.


I made two train cakes for my son, as he is crazy about trains and a big time fan of "Thomas and Friends".
I used a train mould to bake the following cake, decorated with Fondant and placed over a half sheet cake covered with Fondant.


The Following cake was cut out from loaf cakes and decorated with buttercream Icing. Though its not perfect I loved this one than the above cake, as this took lot of time for me.


Here's another one I made for a friends daughter.I cut out the butterfly  from a 9" round cake with help from Betty Crocker's Kitchen.They have got some great ideas there. If you hit the Google you are sure to land up there :)


Here's another one I made for my Hubby's B'day. Cinnamon Sponge cake with Chocolate butter cream Icing. Cake recipe from Passionate about Baking.


The making of the Train cake and decorating  it for the birthday was a huge effort.I had to do two trial versions before the final cake.Would I do it again ? definitely  yes , just to see that lovely smile in my kids face :)  worth all the effort.


See you again this week with another interesting Bake that I made with a recipe.
 Have a great Thanksgiving weekend.

Tuesday, May 25, 2010

Cabbage Pakoda and some scenic pictures from Austria

Last week was pretty exciting  for us as we went on a 5 day trip to Austria and Venice.
Austria was gorgeous and Venice was too beautiful. With nothing much to say, I want to share a few pictures from the trip  for you all to see what we saw and a recipe for quick snack.


Snow Clad Alps...


Bright and sunny Venice..


Now coming to recipe...

Cabbage Pakoda:

2 cups shredded cabbage.
1/2 cup thinly sliced onions
1 cup Besan flour
1/2 cup rice flour
1/2 tsp chilli powder
1 green chilli finely chopped.
1 tsp crushed coriander seeds.
1/2 tsp chat masala(optional)
Curry leaves(optional)

Method.

Mix all the ingredients in a large bowl along with the required amount of salt.
Sprinkle 1/2 cup of water and mix gently.
Heat up oil in a deep sauce pan in medium high heat.
Drop the cabbage mixture in irregular shapes , 4-5 at a time.
Fry till golden brown.Enjoy with a cup of tea.


Have a nice week ahead

Wednesday, May 12, 2010

Family Favorites - Masal Vadai Kuzhambhu

I thought of writing about the dishes that I loved growing up, ones that brings back memories every time I make them at home(even now), ones that are favorites of a particular member of the family , ones that amma makes often on repeated requests from us..ones that are Grandma's special..well , the list continues...Hence this family favorite series. This is my second post in this one, but honestly this kuzhambhu should have been in the first post.
Generally any tamarind based gravy with a main ingredient is referred to as 'Kuzhambhu' and it forms an integral part of any Tamilian Menu. This one is prepared with the Masala vadai as the main ingredient. The paruppu vadai soaked in the tamarind gravy is a delicacy and its such a favorite at our home.My mother makes this as a special dish, whenever we have some vegetarian guests for lunch.
You dont have to make any side dish or veggies, just some papads will fulfill the entire meal, because I am sure that your guests will not reach out for the rasam or curd to end the meal.

For the Masala Vadai:
Ingredients:
1 cup Channa dhal
1 green chili
1 tsp sombu/fennel seeds
1 medium onion
curry leaves

Method.
Soak the channa dhal for atleast 3 hrs.
Grind the dhal along with sombhu and salt, without adding water.
The mixture should be coarse in texture.
Slice the onion thinly and add to the dhal mixture.
Add the finely chopped chilli and curry leaves.
Mix well and make equal sized balls.
Heat oil in a pot, flatten each ball and deep fry them in medium heat.
Note:
The vadai's should be thick and soft inside, not thin and crispy.

For the Kuzhambhu
Ingredients:
Lemon sized tamarind
1 cup chopped onion
1 cup chopped tomato
1 green chilli
1 inch ginger finly chopped
few curry leaves.
1 tsp mustard seeds
1 tsp urad dhal
1 tsp fenugreek seeds
11/2 tsp chilli powder
3 tsp coriander powder
1/2 tsp turmeric powder
salt to taste

Method
Soak tamarind in 1 cup of water
Extract the pulp completely and add 3 more cups of water to it.
To the extract add all the dry powders and salt.
Take 2 tblsp of oil in a wide bottomed pot.
Add mustard, urad dhal, fenugreek, and curryleaves.
When the mustard pops, add the thinly sliced onion, ginger, green chilli and fry till translucent.
Add the chopped tomatoes and cook till mushy.
To this add the tamarind mixture and close with a lid.
let it boil for approximatly 10 mins or until the raw smell goes.
Reduce the heat to minimum and add all the vadai's.
Switch of the stove after 2 mins. Close with lid.
Let it sit for an hour before serving.

Note:
If the kuzhambhu is watery, crush one or two vadai's to help thicken the gravy.
Check for salt before adding the vadai's.
You can also use 3tsp of sambhar powder instead of chilli pwd and coriander powder.

Tuesday, May 04, 2010

Bread Rolls/Parcels

Though I have read about bread rolls several times in many cookbooks, magazines, blogs, and foodwebsites I have never tried it until recently for a potluck lunch. It didnt soak much oil as I initially thought and it retained its crispiness even after few hours.I have made it twice after that and it came out very well each time. Makes a great party starter.

The recipe for the filling is very versatile, and you can make it according to your tastebuds. This is how I made it.
This recipe make 10-12 bread rolls

For the Filling:
Ingredients:

4 medium potatoes 
1 tsp ginger garlic paste
1 medium onion chopped

1 tsp jeera
1 tsp chilli powder
1/2 tsp garam masala powder
1 tsp chat masala powder.
1 tblsp lemon juice

Method.
Boil the potatoes, peel the skin and mash it .
Add 2 tblsp oil in a pan and add the cumin seeds.
When it crackles add the chopped onion and saute well.
To this add the ginger garlic paste, and all the dry powders and fry till the raw smell disappears. Sprinkle some water if necessary.
Now add the mashed potatoes, and mix well with the masala.
Finally add salt, chopped coriander leaves  and lemon juice, mix well to combine.

For the Rolls:

Ingredients.

12 slices white bread.
a bowl of water.
2 cups bread crumbs
oil for frying

Method:
Trim the edges of the bread and keep aside.
Take each slice , dip in the water, keep inbetween your hands and squeeze out the water.
Spread the sqeezed bread slice on a flat surface, place the filling towards one edge, roll it and seal the edges by slightly pressing them.
Roll it over the bread crumbs and fry in hot oil.

Note: The oil should be hot , not smoking hot. Coat the rolls well with bread crumbs and pat it your palms before dropping it in oil.This helps in shedding the excess crumbs, that might clog the oil.

Friday, April 30, 2010

Family Favorites: Lamb/Mutton Soup and Pepper fry

Lamb /Mutton is one of my favorite Non-Veg dish while growing up, especially the soup. In my family we prefer to take the soup as the final course, like rasam along with rice. Due to the high fat and cholestrol scare, we stopped taking red meat after marriage. Sometimes when I get the cravings I buy lamb ( completly trimmed of fat ) in a little quantity and make this soup. This happens once or twice in a year.
But lately, since my son has lost a lot of weight due to frequent sickness, I was suggested both by my parents and in-laws to start adding mutton to his diet.
So now once in two weeks I make this soup for my kid and this delicious pepper fry for us with the cooked meat.


For the Lamb /Mutton Soup:

Ingredients:
4 pieces of lamb/Mutton Chops
4 galic cloves, finely chopped
1 inch piece of  finely chopped/grated
1 small onion finely chopped
1 small tomato

1/2 tsp of turmeric
1 tsp of coarse pepper powder
1 tsp of coarse jeera powder
salt as per taste

for tempering
1 tsp of sombu/fennel seeds
1/4 inch cinnamon stick
2 cloves

Method.
In a pressure cooker add the meat, onion , tomato, garlic , ginger, turmeric, pepper , jeera and salt.Add 3 cups of water and mix well.
Pressure cook for 4-5  whistles.
When the pressure subsides, remove the meat from the soup and keep aside.
In a small tempering pan add a tsp of oil and all the tempering ingredients when the oil is hot.Pour this over the soup and bring it a boil . Add a handful of chopped coriander leaves.
Serve with hot rice.

Lamb /Mutton Pepper fry.

 Ingredients:
4 piece of lamb chops  cooked as said above.
(reserve 1/2 cup of meat stock before tempering the soup)
1 small onion finely chopped
1 tsp ginger garlic paste or ginger and garlic finely minced
1/2 tsp of chilli powder.
1 tsp of coarse black pepper
1/2 tsp of jeera powder
Method:

Heat a pan and add 2 tsp of oil.To this add the onion and fry till translucent.
Add the ginger garlic paste and chilli powder, fry till the raw smell goes and oil leaves the sides of the pan.Now add the meat along with the pepper and jeera powder, stir well to be coated with the masala.
Add the reserved liquid and close with a lid and cook for 10 mins or till all the water disappears. Garnish with chopped coriander leaves


Related Posts with Thumbnails